|
|
Post by captain chaos on Aug 7, 2013 17:55:49 GMT
|
|
|
|
Post by captain chaos on Aug 7, 2013 17:58:18 GMT
Hey up Strangeways, Heard you land last night (actually got wood!) but was too fucked to get outta bed...!!!!! Had a look at Grebrod this morning before you were awake.....awesome mate... are you gonna plate the inside of the frame where the chain runs? I gotta say I really like the engineering/thinking going into this bike.......not the usual (YJ) cobbled together rubbish lol YJ ;D ;D Got the priority of a beer sorted & got stuck into putting the tent up in the rain before it got too dark  returned to the bar & asked a few people if you were around.. they just laughed & pointed in the direction of your tent Gave GsxrDel a lift up & he was enjoying the V8 rumble, proper truck  Yes will be plating the inside of the chain runs, I'd started doing it early part of the week whilst waiting for Super Larry to finish making the shock mounts. Was hoping to have got more done on them but stopping to do a quick bit on Pete's ET, etc killed me for time. Soon as I got the bits from Super it was get stuck into shock mounts & subframe. I could have done a quick & simple build to get it on the road but I'm certainly learning more doing the things I've done to it so far & it seems to be working as it's got some stance to it already |
|
|
|
Post by captain chaos on Aug 7, 2013 17:59:00 GMT
Gurgle 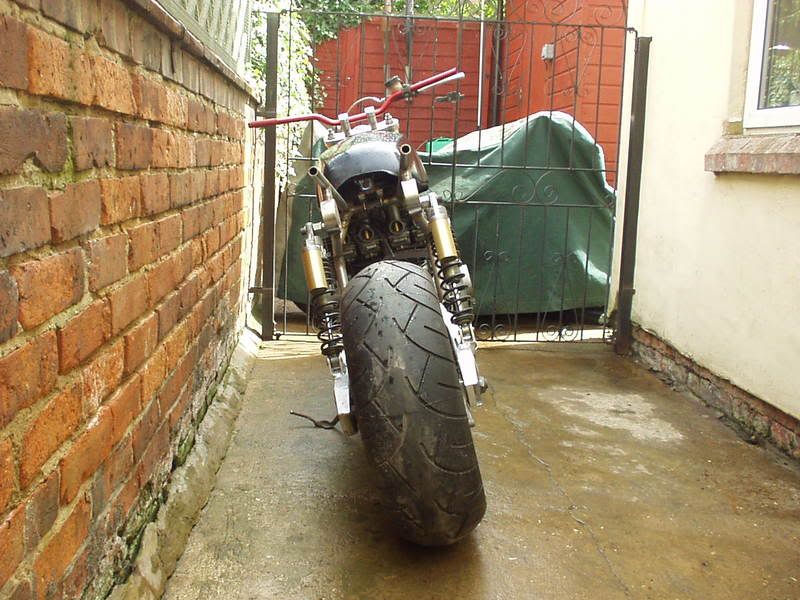 |
|
|
|
Post by captain chaos on Aug 7, 2013 18:00:21 GMT
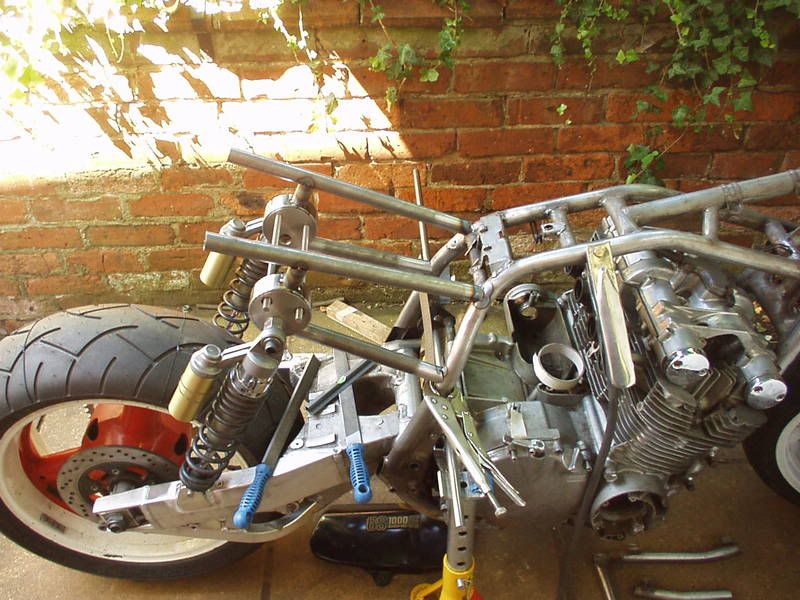
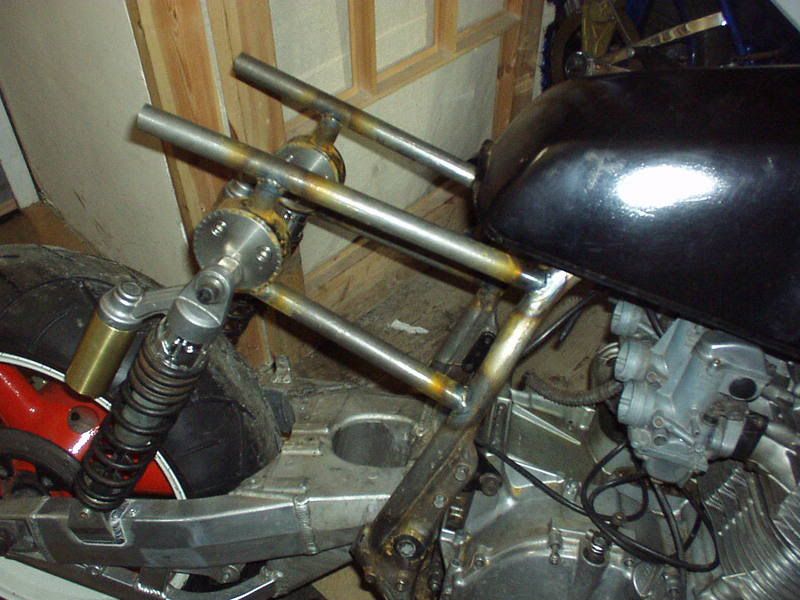
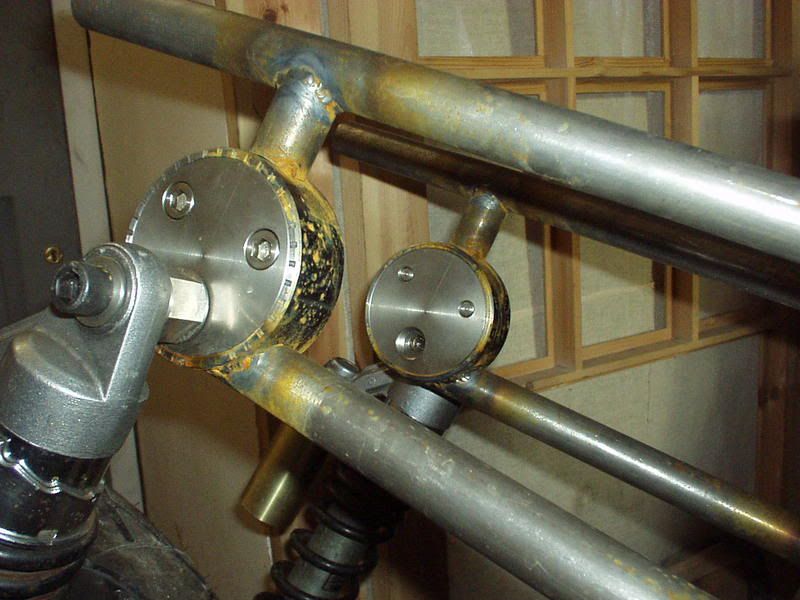
Thanks for all your comments Stripped it back down & final welded the bits of the subframe that I had done before the OSS Party. 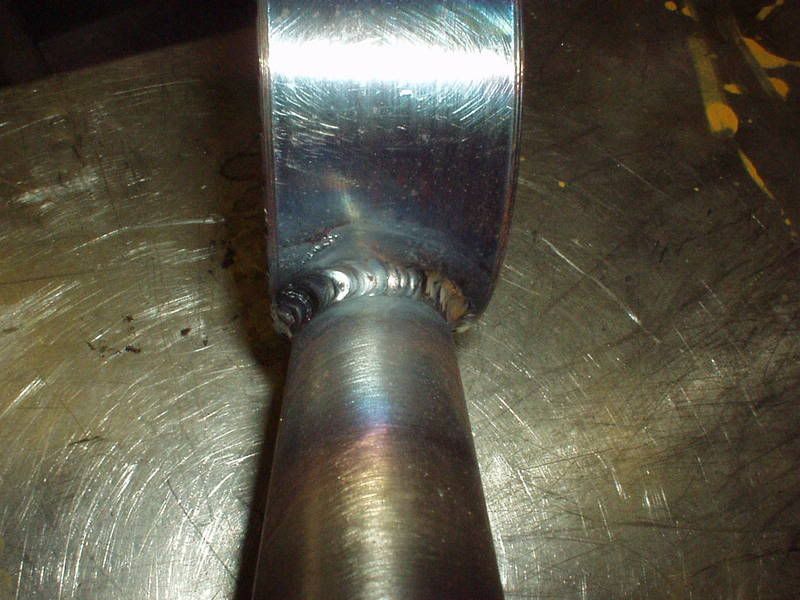 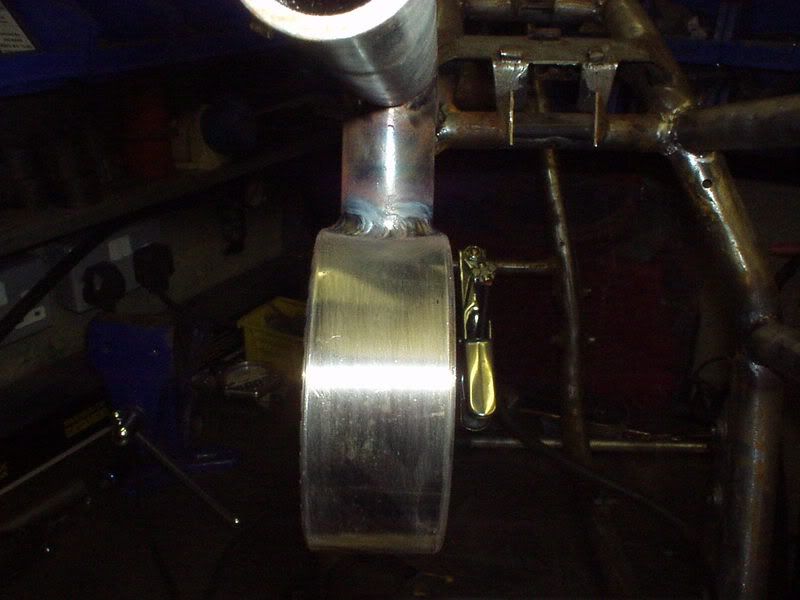 Need to add a few more tubes to the subframe as not finished, going to put one in here so measured the gap first. 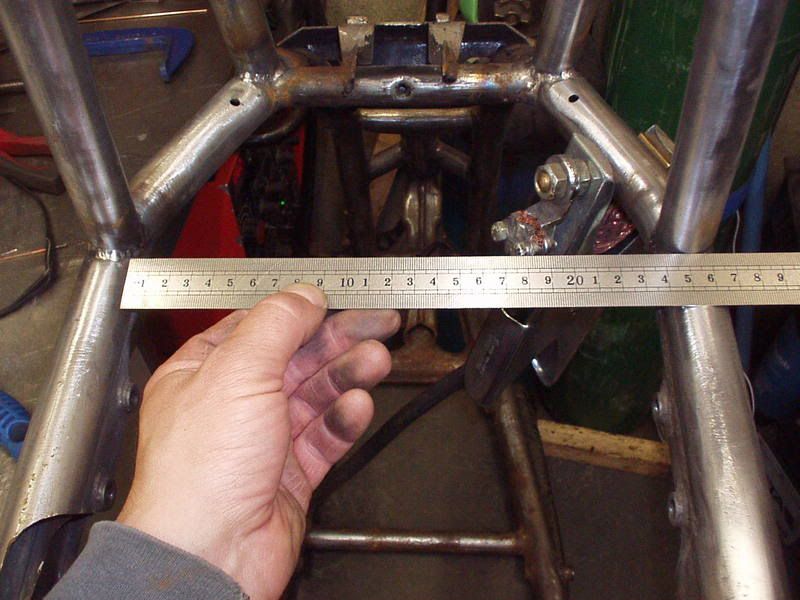 Next I use the "Tube profile cutting guide" to produce a template which you can download for free here : www.tonyfoale.com/software.htmHere is the template. 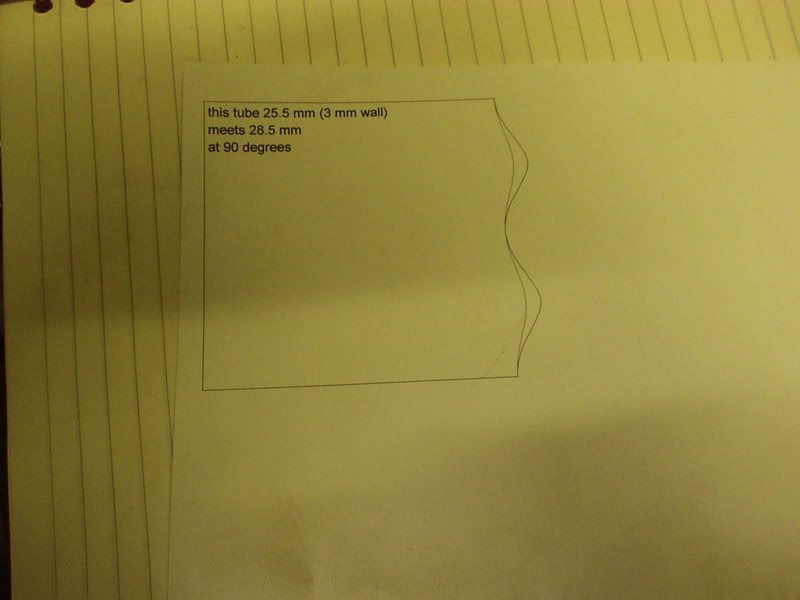 Cut out & wrapped around the tube. 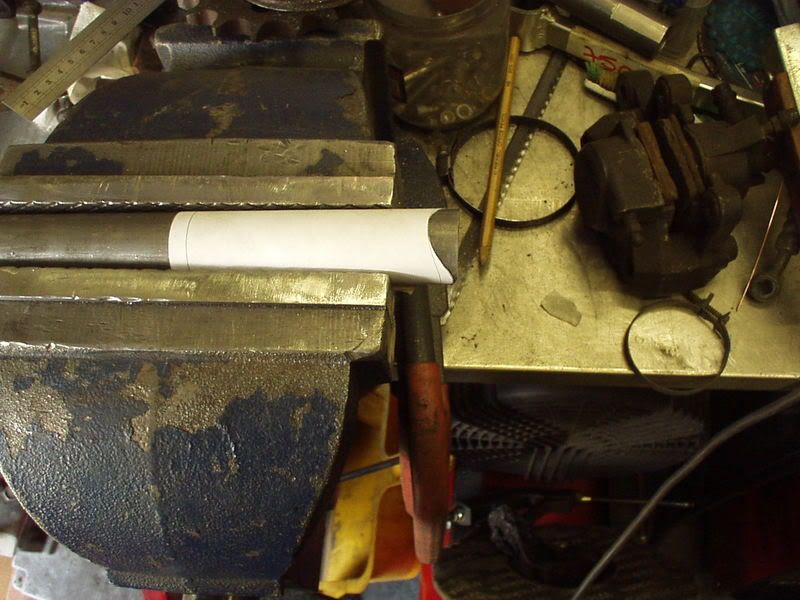 Used a grinder with a flap disc & then a half round file to tidy the last bits.  That's the basic shape I needed, did the same to the other end followed by more filing & test fitting which gave me this. The better the fit up the easier it is to get a quality weld & less residual stress will build up in the frame. As a weld cools it contracts (pulls), the bigger the gap the bigger the weld pool... 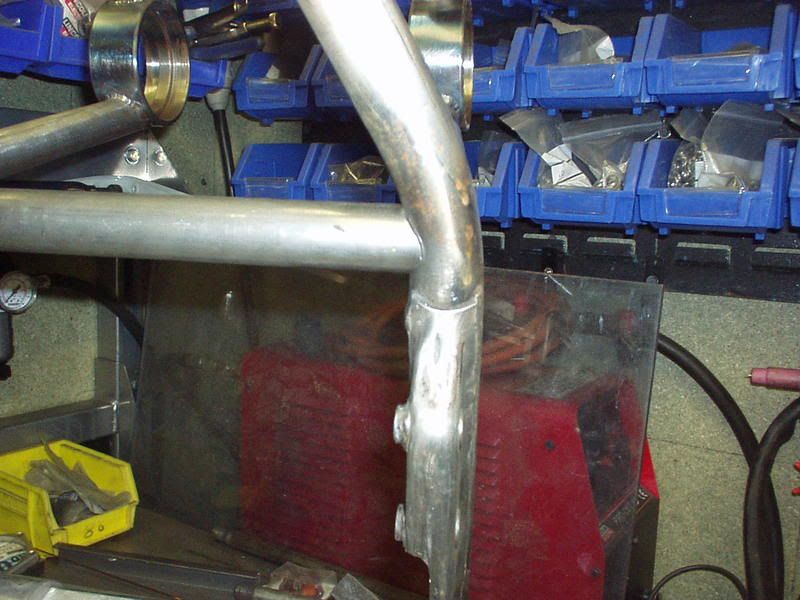 I have screwed the swingarm pivot bolt in place with the parts from my Guide Tube jig (that replicate the width of the swingarm) so that when I weld this tube in place it will resist distortion in the pivot area (mainly pulling of the side tubes closer together). 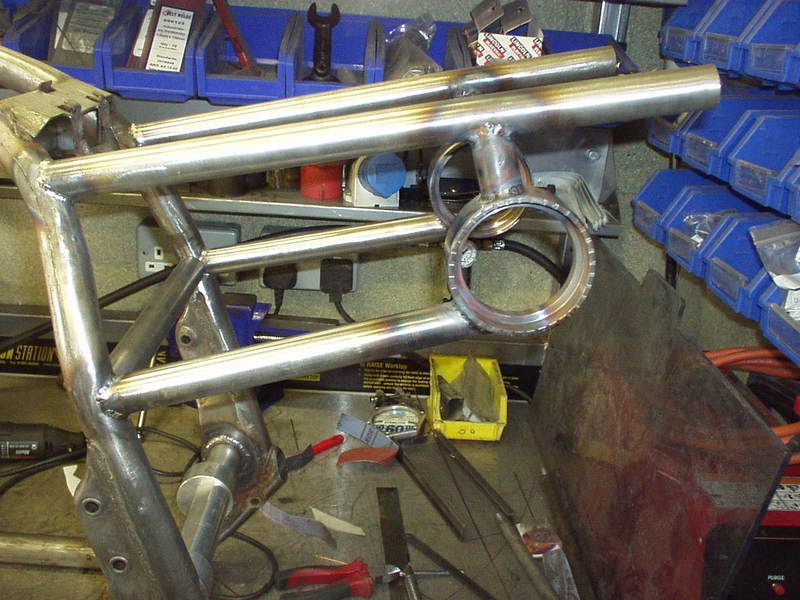 Used smaller diameter tube at the back. Thought long & hard about mounting this tube directly off the concentic adjuster 'rings' but it would have been harder to do without possibly fouling the movement of the inner disc on each side & I decided that I didn't actually need to.  and that was it for the morning apart from cleaning up the tubes where the old subframe was cut off. |
|
|
|
Post by captain chaos on Aug 7, 2013 18:01:55 GMT
are you putting in a diagonal to resist the suspension pushing the subframe upwards? Yes, I'm putting a diagonal in each 'side panel' area to do exactly that. I'm also going to do the cross brace in the area 'behind the carbs' but pyramid it backwards, as this will take up some of the space I have for the battery etc I need to work out exactly how all my electrics are going to fit in the subframe space first (under the seat). |
|
|
|
Post by captain chaos on Aug 7, 2013 18:02:30 GMT
Few pics of what I've been up to, bit more welding on the subframe tubes. 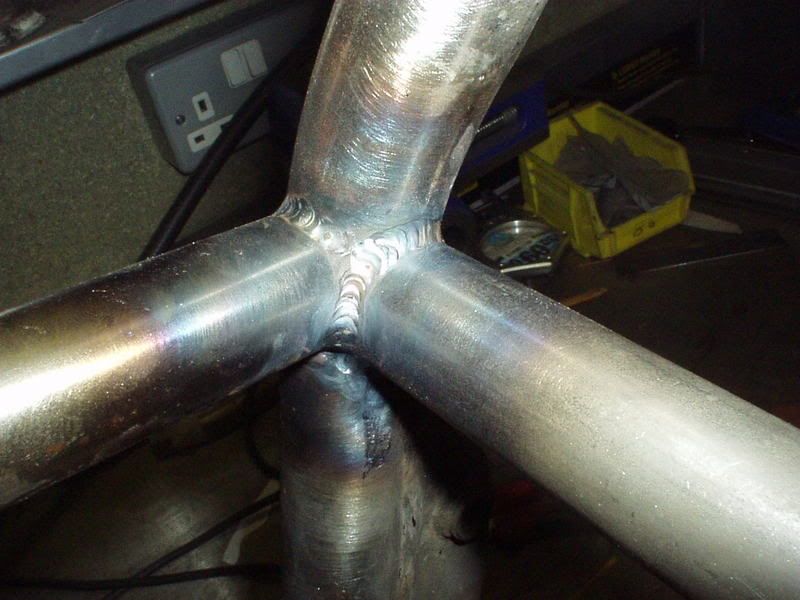 Taken a break frame the subframe as need to drop my engine off to be prepped & painted next week but can't till I get a few braces done with the engine in place. This is text book Foale bracing at the front of the engine cradle.  Need to check that the downpipes will fit when doing this one. 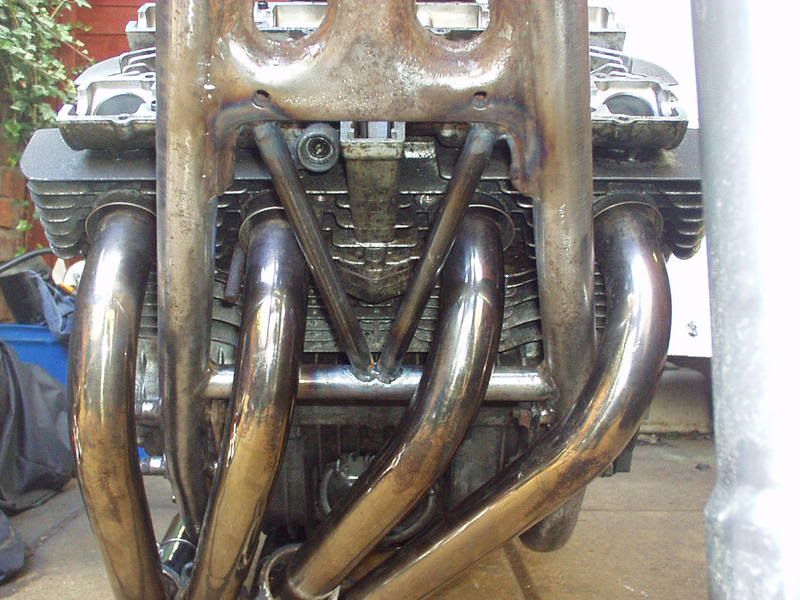 |
|
|
|
Post by captain chaos on Aug 7, 2013 18:07:17 GMT
Got the other bracing in making sure clear of filter. 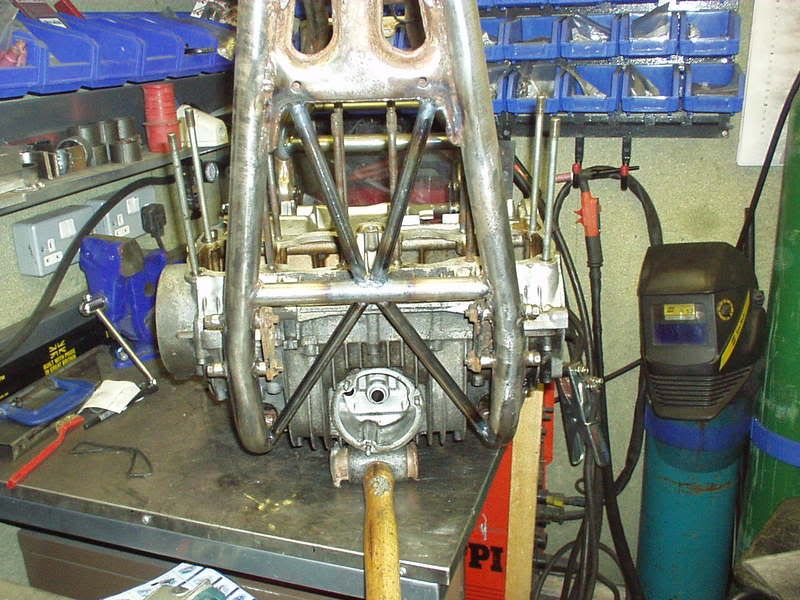 As said I'm using GrebRod as an excuse to do a few things I haven't before, the braces at the front of the frame are often used but these next ones aren't. They are in Tony Foales book but I haven't seen another OSS project with them done, also excuse to fire up the plasma for the first time in anger. Not bad but need more practice & quicker than a hacksaw. 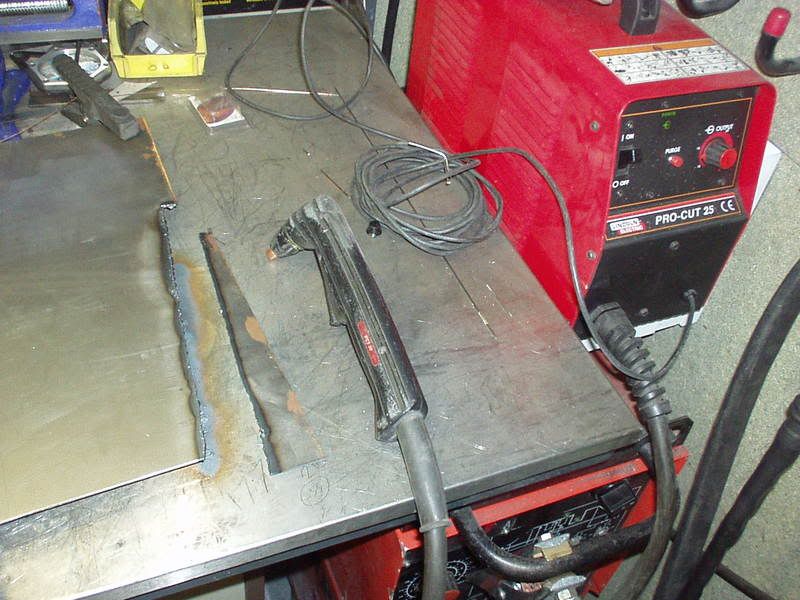 Tidy up with a grinder, tac in place & then I welded as a sequence these first. 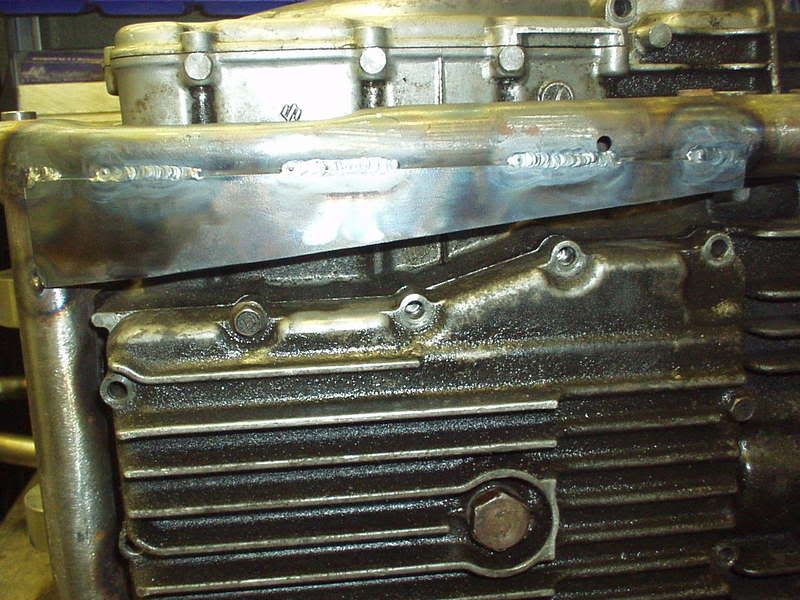 Stuck kettle on & then welded the rest. 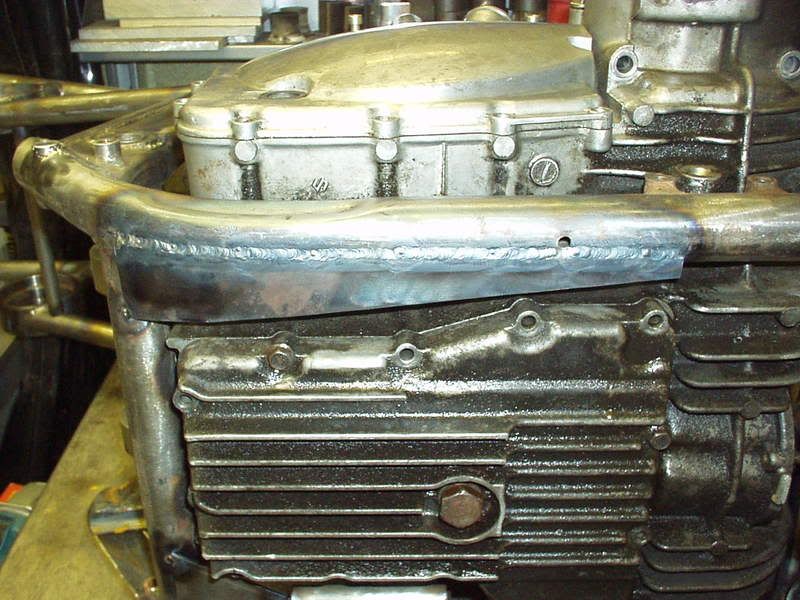 If you called this the bottom it will also have a matching piece on the top of the frame tube & a side as well. Theory behind these is that when Foale did a bend test on these types of frames the 'large open' area under the engine would lozenge / deform. As I've relocated my subframe lower tubes way higher & am half tubing the frame for chain cut outs any rigidity I can win back is good. The other side isn't as easy to do, decied I would use the biggest side stand support in the world & plate into it, looks messy but will be fine (& unseen) once done. 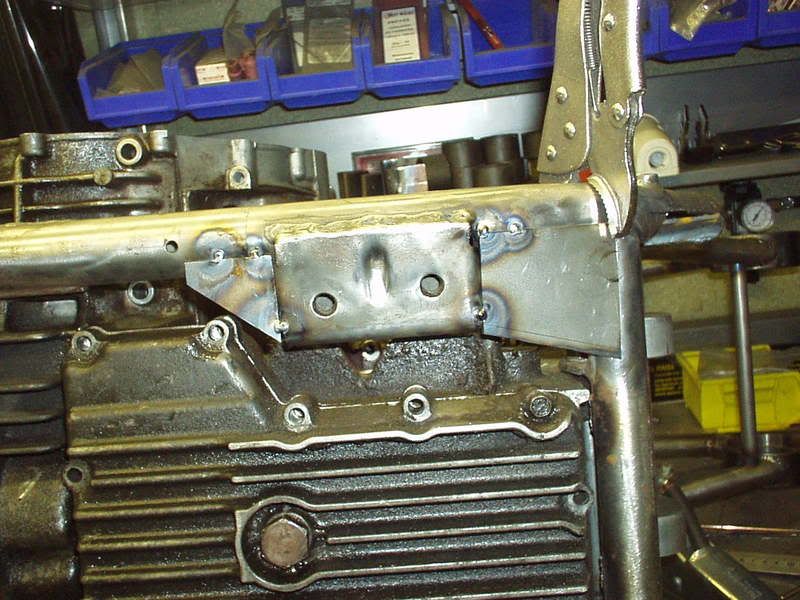 Here's the top view on this side, you can see that once the 'top' plate is cut & in place it beefs up the corner esp with the chain cut outs that I've started to do. 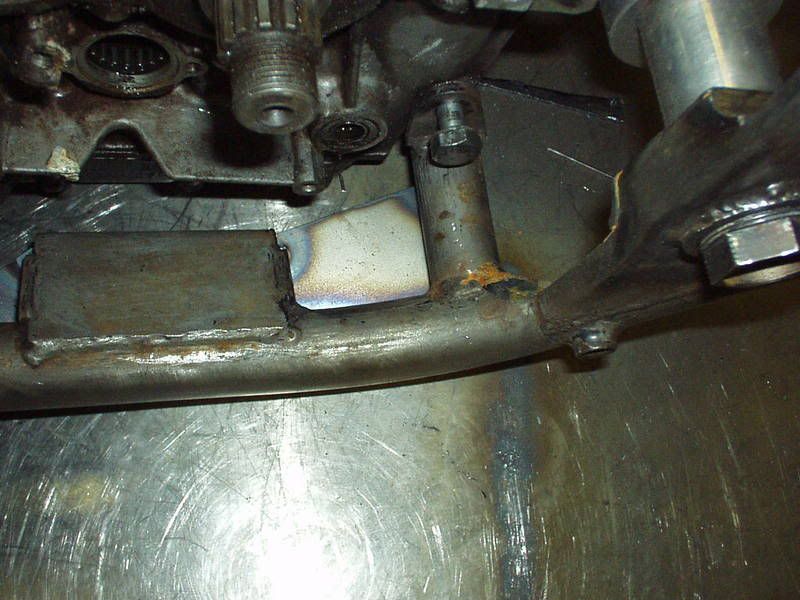 New method of rust & paint removal  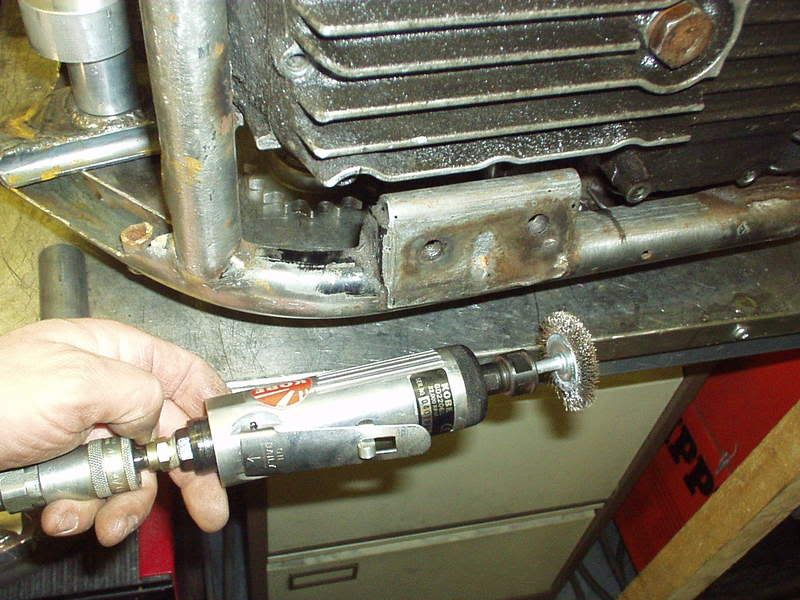 PeteG stopped by on his ET phone home proj as he's got it running nicely now, looks & sounds gorgeous & I did think for a moment what the f*ck am I still doing in the workshop only for a split second though  |
|
|
|
Post by captain chaos on Aug 7, 2013 18:09:26 GMT
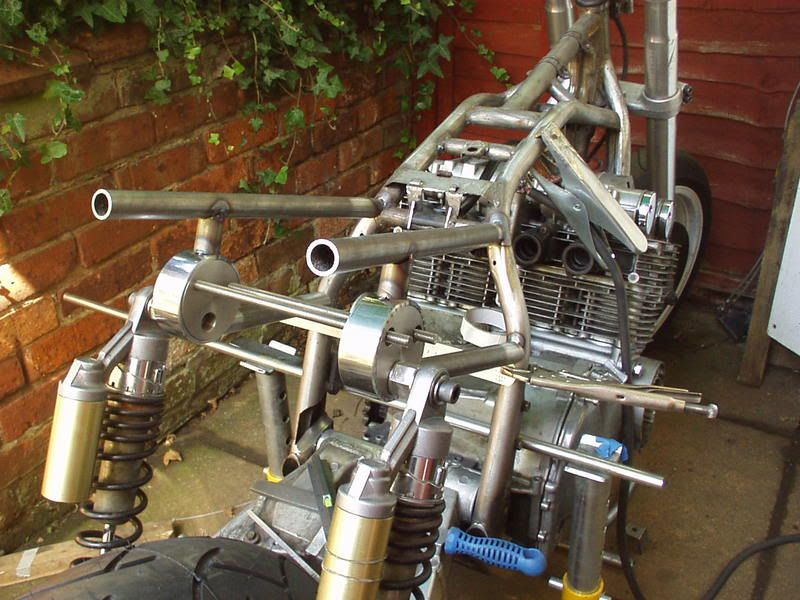
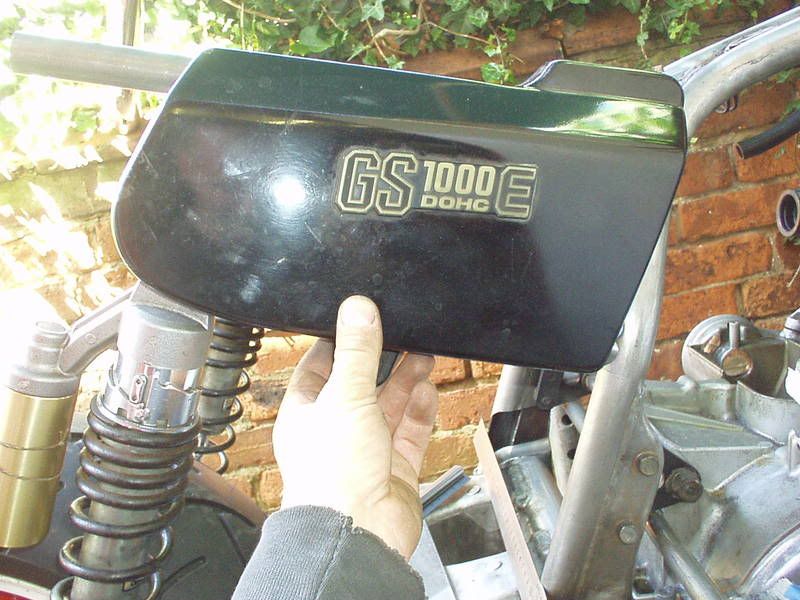
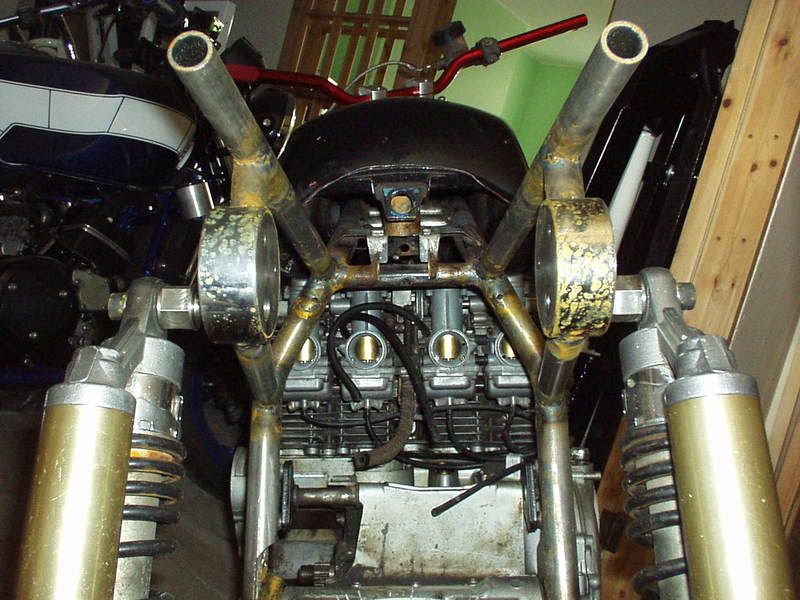
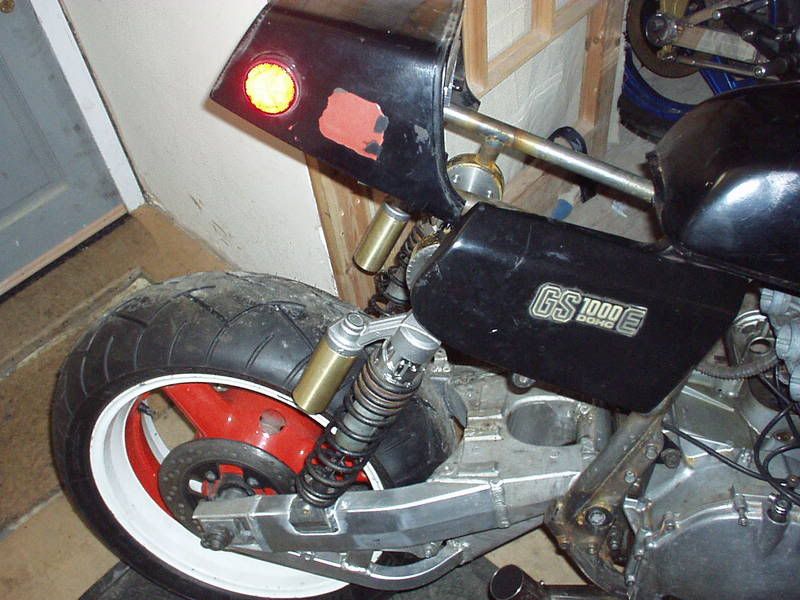
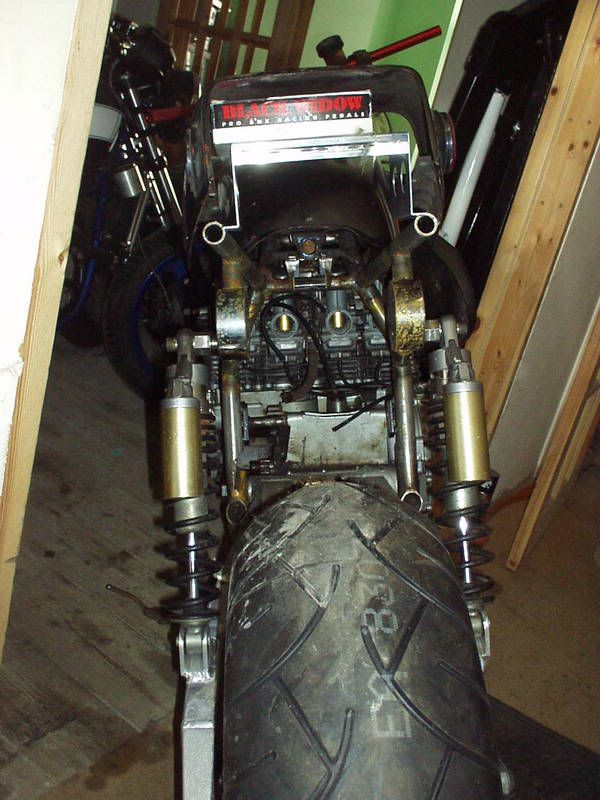
From your photo showing the "V"-bracing, it appears to be a tight job to fit and fasten the exhaust collars. Also - don´t the side panels interfere with the shocks when you adjust the eccentric tappets for lowest saddle height? Regards, Siggi Good questions. The exhaust looks tight in the pic but isn't, will need to make sure the collars are up near the tops of the down pipes before I guide it through the bracing but that's about it. Took a pic from the side just now, didn't have the block on but you can see there is more clearance than the front view shows. 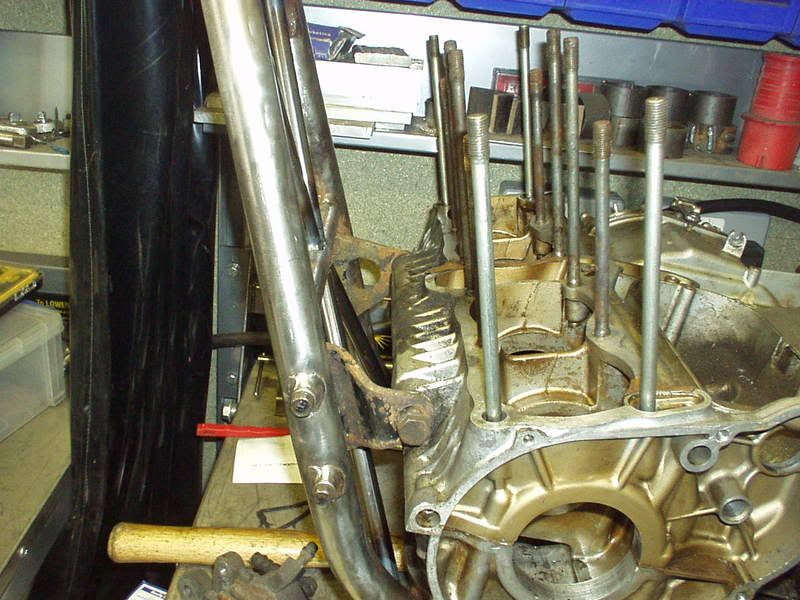 The side panels in the pic were taped in place so I could take a picture, your correct I need to make sure that the bottom edge is far enough from the shock to allow for adjustment when I mount them properly. I had to design the shock mount stub so that the top of the shock body wouldn't hit the adjuster as well. As the back of the bike will be wide with the 210 tyre, wider swingarm than stock, I don't mind that the panels will be a bit further out as well. 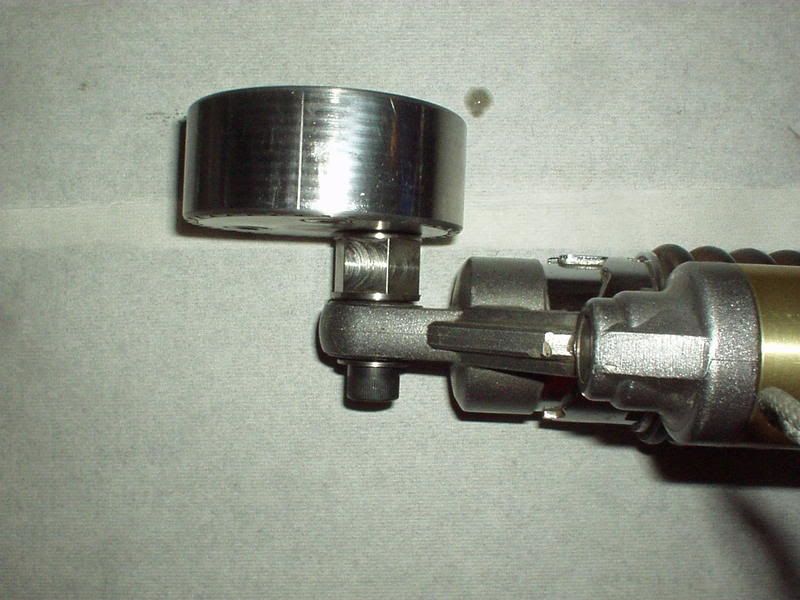 |
|
|
|
Post by captain chaos on Aug 7, 2013 18:10:36 GMT
Bit of a chill out day so haven't got much done, still it's all progress towards the day when I can go noise up the streets Cut out the top piece for one side of the 'under engine' braces, had to work it into place, a few tacs than clamp with the mole grips, few more tacs.. 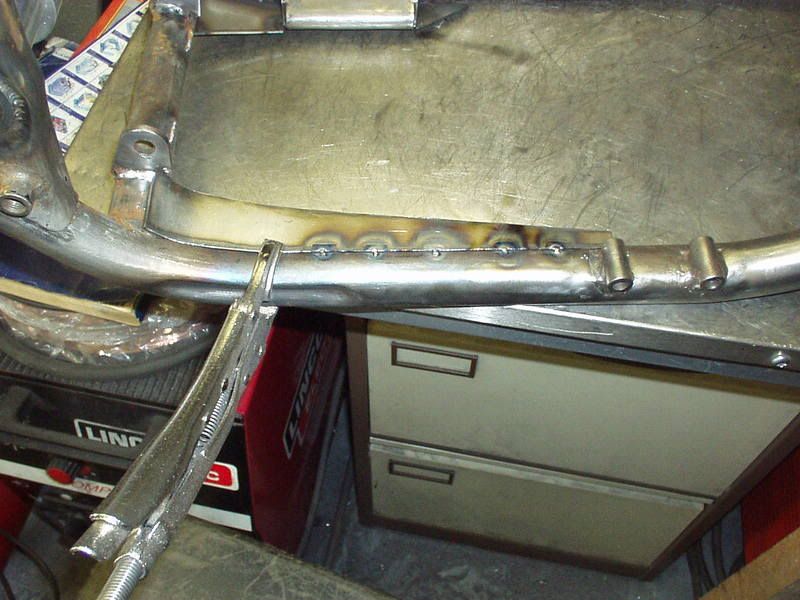 Here's the underside you can see where I have just welded the additional plates to the existing side stand mount & on the other side you can see the top & bottom parts of the brace. Needs a side section cutting & welding in which I hope to do tomorrow. May not have made sense in my earlier posts but you can see from this pic how they will add stiffness. Stopping this big area from distorting assists in keeping the swingarm pivot in place / alignment. 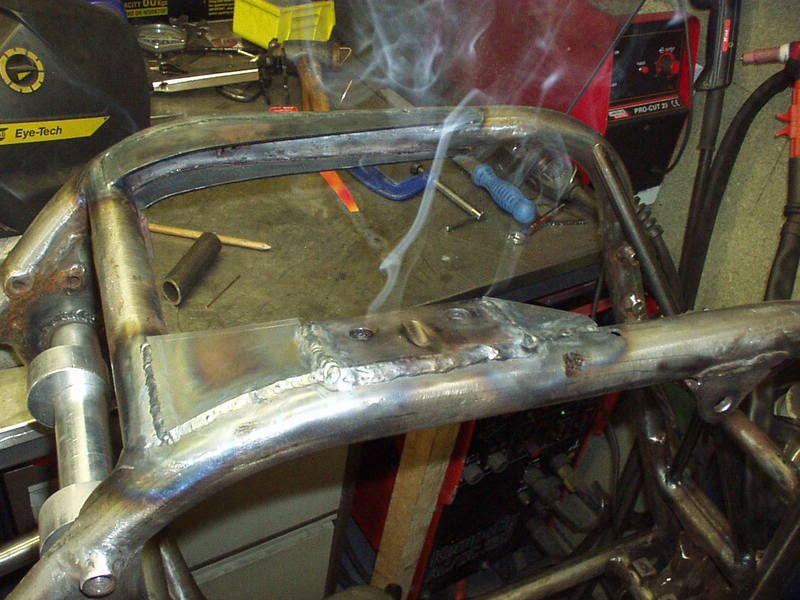 |
|
|
|
Post by captain chaos on Aug 7, 2013 18:12:00 GMT
Nice build mate... loving your style  mibbes worth similar smaller braces to the rear of the crossmember? (chain run allowing) Have something similar in mind, can't do much to the rear of that tube due to the chain cut outs, but, where I have put the new tube in behind the engine I can do similar braces that run downward & on the inside of the main frame tubes adj the engine mounting bracket holes. Looking from behind it would be cool to make them curved (as per some of the stuff I did on Stevea's Katana 'Road to Ruin') so they matched the profile of the rear tyre. So in this corner. That tube isn't shown in this pic but it goes between the lower subframe tubes & you can see what I mean by matching the curve of the tyre. I'm sure I can get that to work |
|
|
|
Post by captain chaos on Aug 7, 2013 18:13:06 GMT
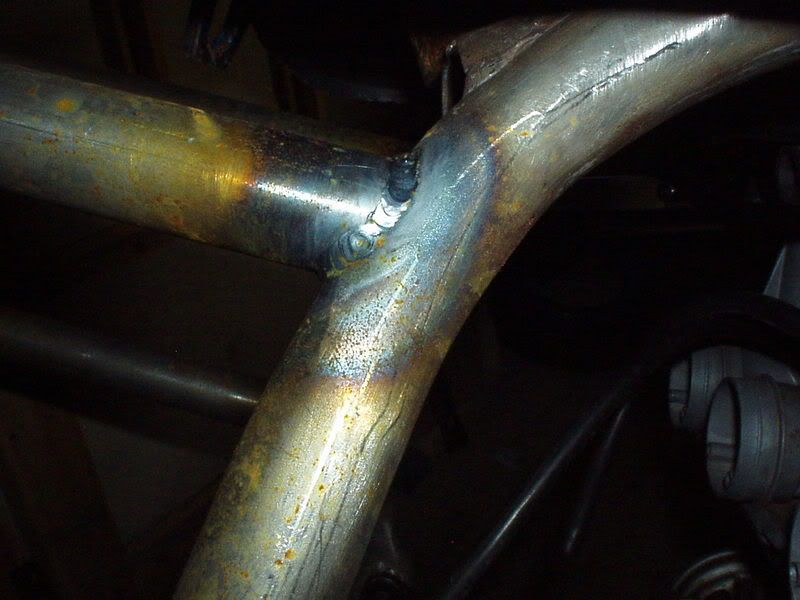
Card, plasma, grinder. 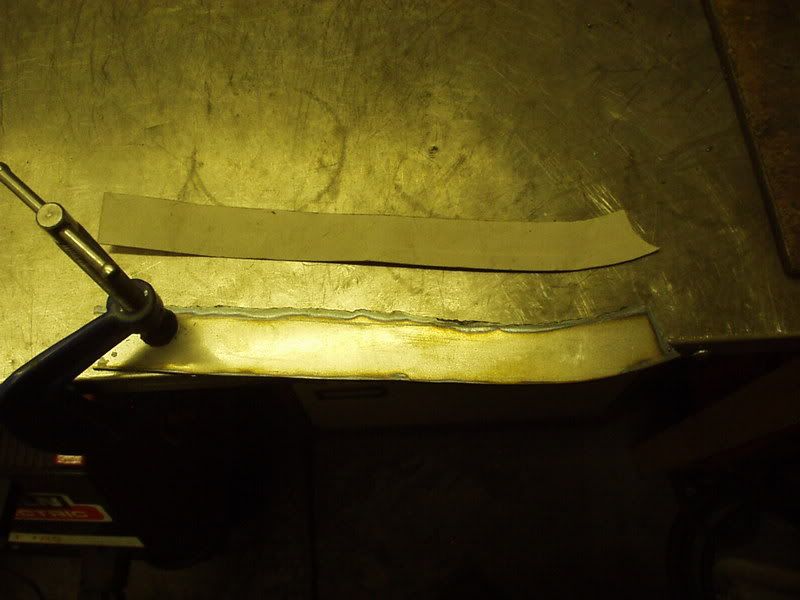 Tac'd. 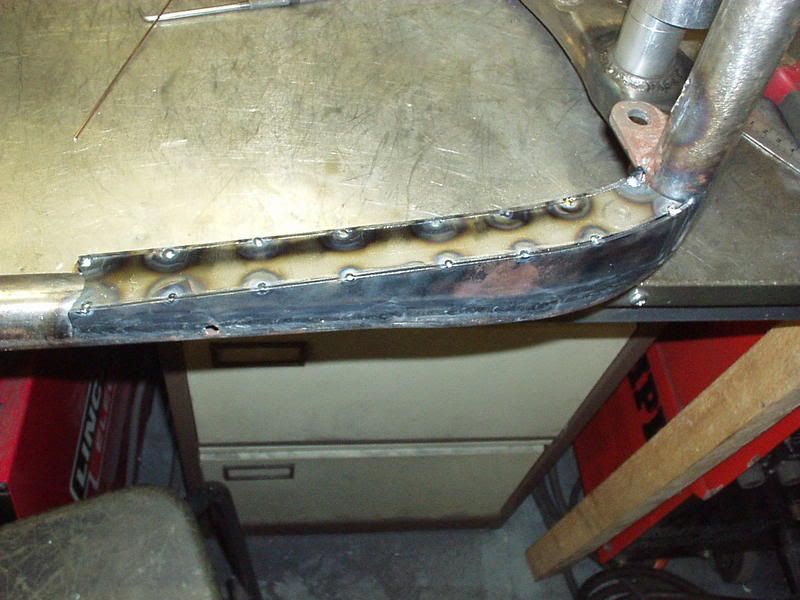 Sequence weld. 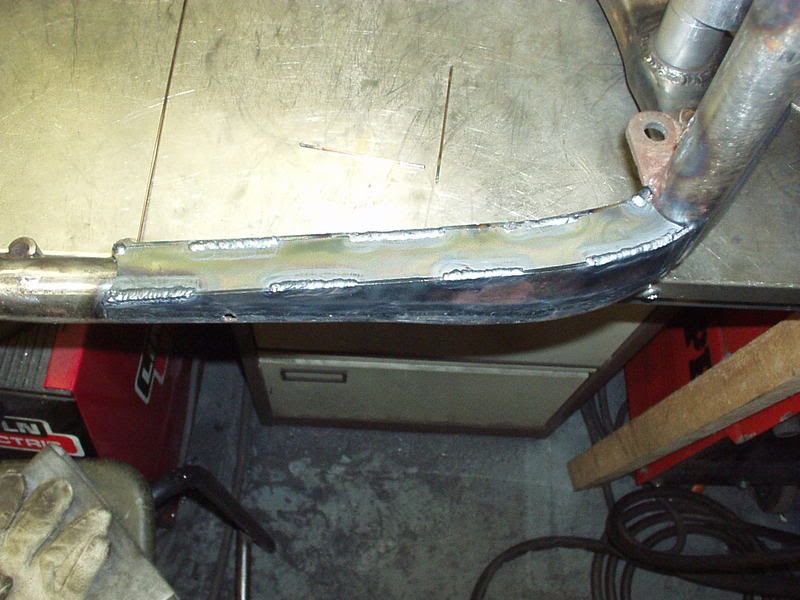 Filed smooth. Just need to weld the bit near the 'mid' engine mount. 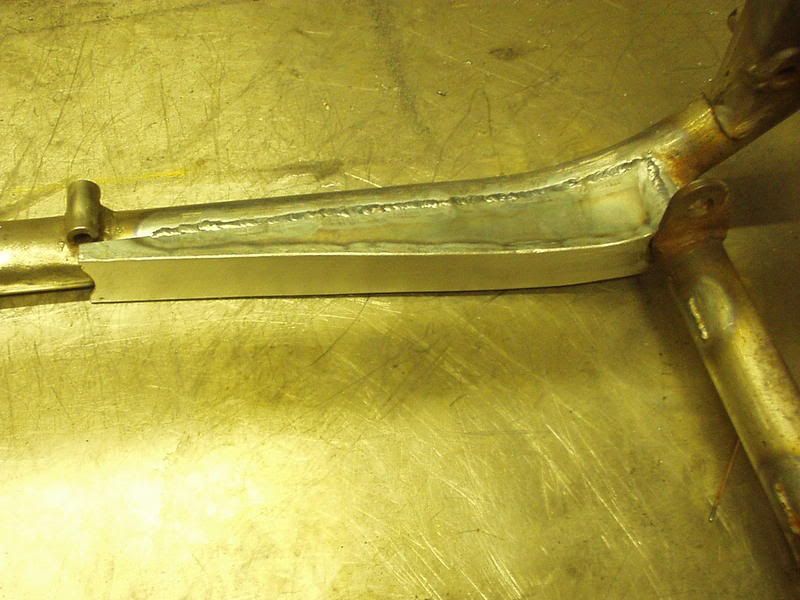 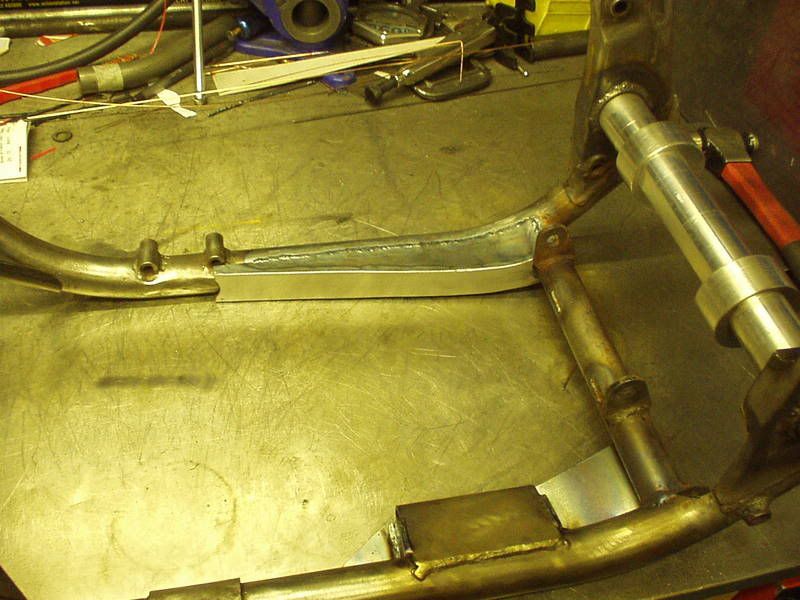 |
|
|
|
Post by captain chaos on Aug 7, 2013 18:14:27 GMT
just a thought on the plasma cutting , we used magnetic strips to guide the cutter where i used to work , very useful as they bend for curved lines as well . not sure where you get em from, welding supplies maybe ? straight cuts are easy if you clamp a piece of angle as a guide . Yeah I need to play around some more, two things I'm finding at the moment are.. With the steel plate I'm cutting (2mm) you have to move the plasma cutter reasonably fast, (blurb says capacity up to 9mm, single phase as well  ) Scribing a shape it's very easy to loose track (can't see) where the guide line is when cutting (for anyone who hasn't done this you still wear a welding mask & it's only from the light of the arc that you can see where your going). Welding tig I've got out the habit of moving a torch fast So I think you right in saying using a guide to either run the torch or part of hand along is the way to go. |
|
|
|
Post by captain chaos on Aug 7, 2013 18:15:45 GMT
seems to have gone quiet in here  Went & got myself a Mk1 Golf GTI but having a few mot issues... My Chev's too juicey as a daily so been tooling around in a Volvo T5 for a year or so but that only does 22mpg around town, thanks to the arse that is Gordon Brown who would prefer to be seen on tv sticking his unwated nose into other countries problems than sorting out our own (lower fuel duty you boring Sump) can't afford to run that either now. Ahh that made me feel better. Normal service will resume this week |
|
|
|
Post by captain chaos on Aug 7, 2013 19:06:02 GMT
Cheers all for tips re Plasma cutting, I'll try a few things out. Good job the posties been busy on this As this is going to be a daily ride upgraded reg/rec & generator from Electrex 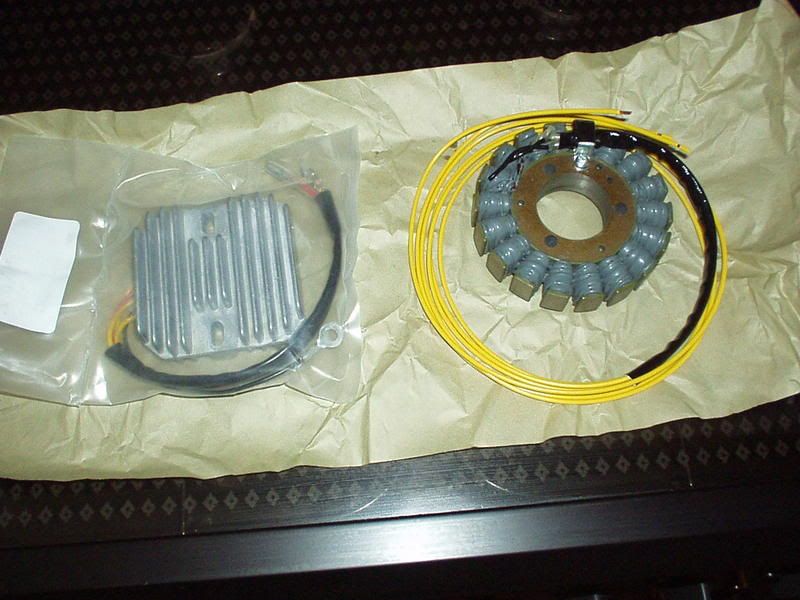 APE tenisioner & valve seals, Heavy duty camchain. 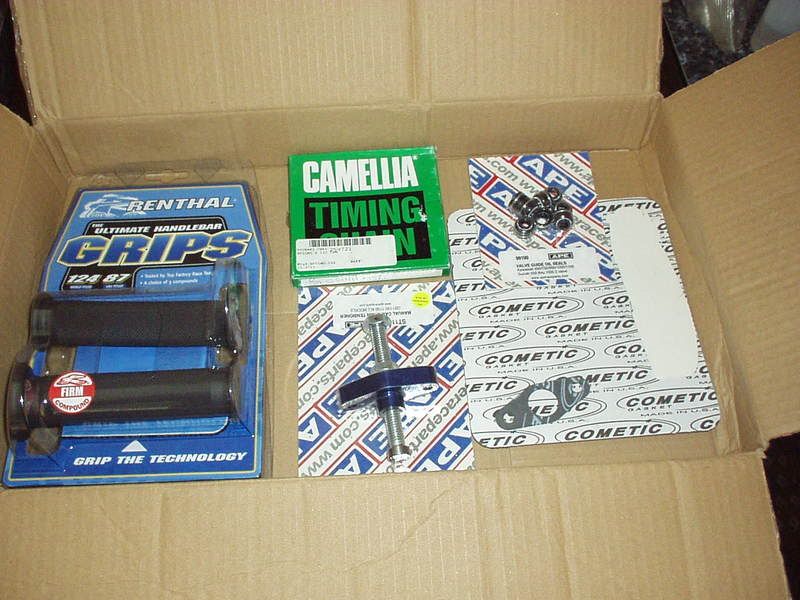 Had to catch up on some much needed sleep so didn't set the alarm this morning, woke up a bit late (the hardest working lad I've ever worked with once told me that sleep was for women & children... I must be getting old  ) went outside & I think there has been an earth quake in my w'shop, either that or the result of a few days lying in the street fixing cars  First job will be to tidy this mess up, realities of limited working space... 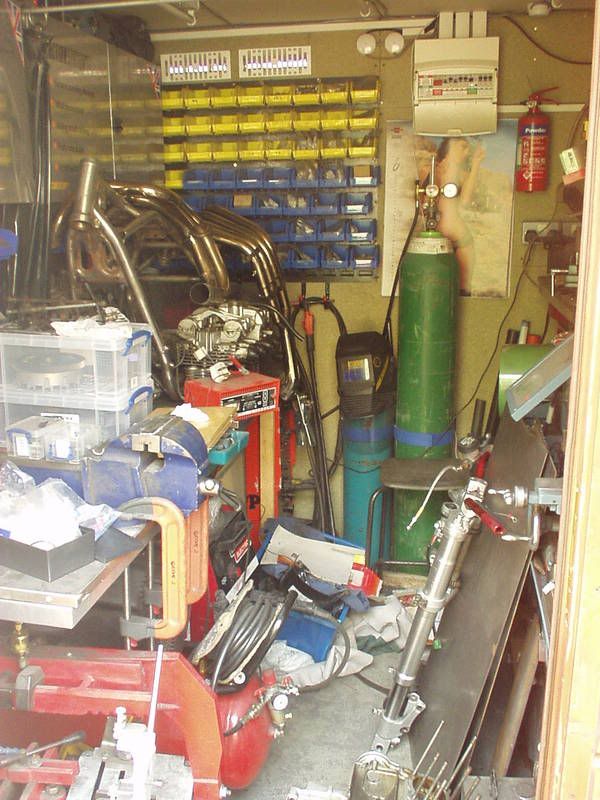 Once I've got my head tuned back into this I have to finish the bracing either side of the sump & then I'm going to look at mounting the tank (inc side panels) & the coils as I need the engine in for that to check clearance. Once done I can get the engine prep'd for paint, take the block up to Planet Upperton for big bore & get the head rebuilt. Whilst the engines away I can then carry on with the frame work. Got a box load of gaskets & seals from Robinsons Foundry last week for rebuilding the bottom end. Hmm reminds me the cranks is still up in Notts, 5 weeks or so into a 3 week job Guess I can't say that's holding me up yet |
|
|
|
Post by captain chaos on Aug 7, 2013 19:07:42 GMT
Now where was I Opened the w'shop door it was waiting for me on the bench. 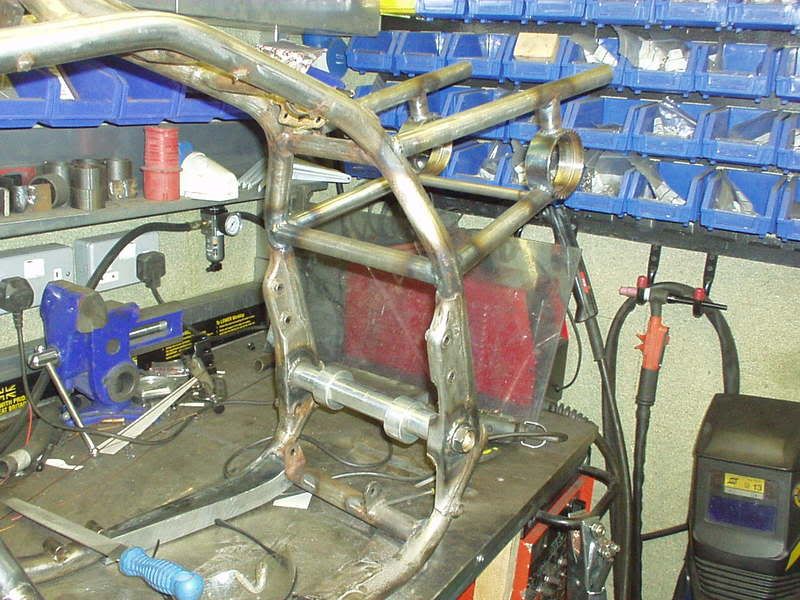 Need to finish bracing in the side stand mount to the tube behind the rear of the engine but firstly need to do the bottom curve of the lower frame chain cut out as it may effect where I put the bracing plate that will join into the side stand mount. 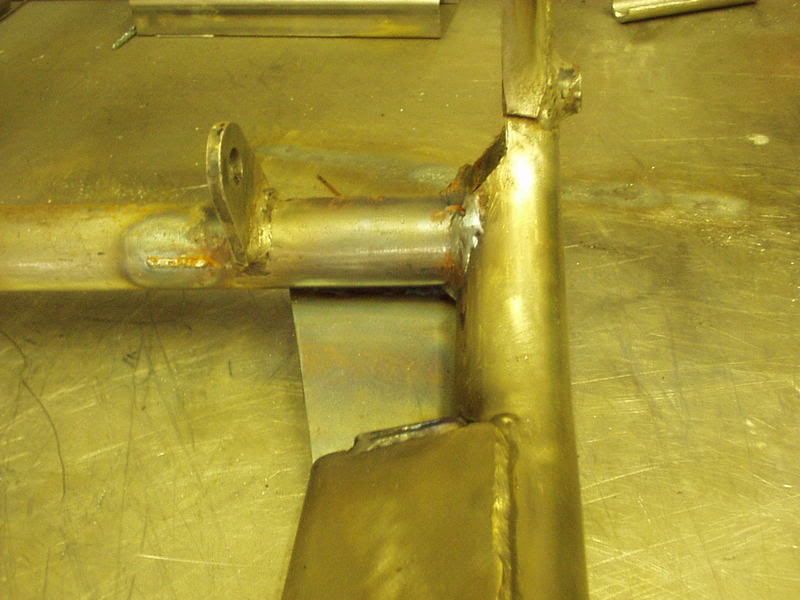 Bit fiddly but good way to get myself back into this, profiled the tube, cut the curved piece to shape & welded it in place, just needs filing smooth. 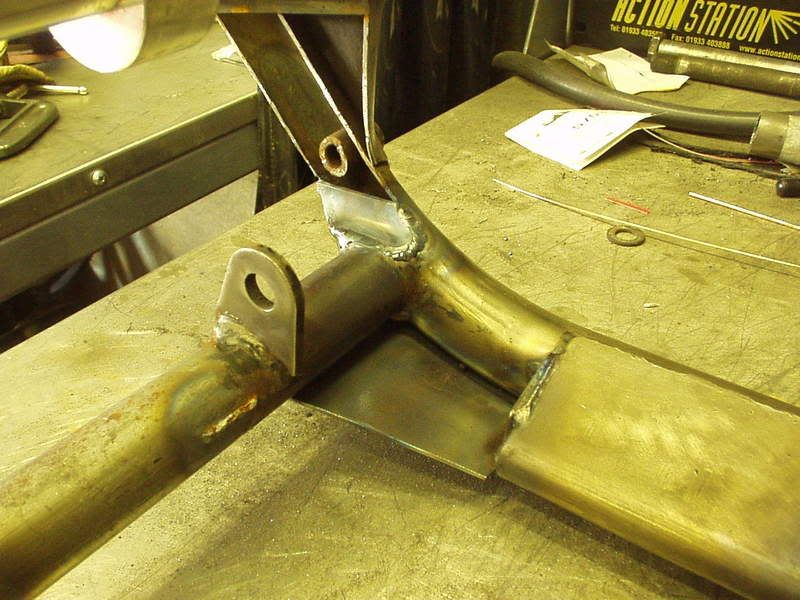 |
|


 returned to the bar & asked a few people if you were around.. they just laughed & pointed in the direction of your tent

 )
)
 ) went outside & I think there has been an earth quake in my w'shop, either that or the result of a few days lying in the street fixing cars
  First job will be to tidy this mess up, realities of limited working space...